Beginner’s Foraging Crafting: Simple Nature-Inspired DIY Projects Using What You Find
Foraging crafting blends slow outdoor wandering with hands-on making—turning fallen leaves, seed pods, twigs, and grasses into practical, decorative projects. The most satisfying results usually come from beginner-friendly materials that are commonly found, easy to dry or press, and simple to assemble into keepsakes that last. The goal is to gather thoughtfully, prep carefully, and finish with just enough protection to preserve color and shape—without taking more than a place can spare.
What Foraging Crafting Means (and What It Doesn’t)
Foraging crafting uses naturally shed or abundant materials—think wind-dropped branches, fallen leaves, pinecones, and dried grasses—rather than rare plants or living growth. It’s less about “collecting everything” and more about noticing what’s already been released by the season.
It also prioritizes low-impact gathering: take a little, leave plenty, and avoid disturbing habitats. While edible foraging requires careful identification for consumption, crafting still benefits from basic identification so you can handle items safely and preserve them correctly. A beginner-friendly win is learning a few dependable materials (like cones, flat leaves, and dry twigs) and completing small projects that build confidence quickly.
Before You Collect: Safety, Rules, and Respect for Place
Start with what’s allowed. Rules vary widely: many parks and protected areas prohibit removing natural materials, even if they’re on the ground. Check posted signage or the managing agency’s guidelines before collecting anywhere you don’t own.
Choose clean gathering spots. Avoid roadsides and chemically treated areas (pesticides, herbicides, heavy metals), especially for items that will be handled often or displayed indoors. Handle unknown plants cautiously—some can cause skin irritation—so gloves are a smart default, and washing hands after collecting is a good habit.
Leave wildlife resources alone: nests, active fungi/lichen colonies, and anything that looks like shelter or food storage. If an item can’t be confidently identified as safe to handle, take a photo instead and enjoy it where it belongs. For a helpful baseline ethic, review the Leave No Trace principles from the National Park Service and the Leave No Trace Center for Outdoor Ethics.
Beginner-Friendly Materials to Look For in Every Season
Seasonal collecting keeps things simple because the landscape does some of the “sorting” for you.
- Spring: fallen blossoms, newly dropped leaves for pressing, thin twigs for mini frames (use already-detached pieces).
- Summer: grasses and reeds for bundling, seed heads, sun-dried petals (skip anything damp or mushy).
- Autumn: colorful leaves, acorns and caps, pinecones, seed pods, bark pieces that are already detached.
- Winter: evergreen cones, bare twigs with bold silhouettes, driftwood where legal, and dried berries (avoid handling if unknown).
If you want quick wins, start with sturdy finds that travel well: cones, seed pods, thick leaves, and small sticks.
Quick Guide to Common Finds and How to Prep Them
| Find |
Best use |
How to prep |
Drying time (typical) |
| Leaves (fallen, flat) |
Pressing, collage, garlands |
Press between paper under heavy books; swap paper if damp |
3–14 days |
| Pinecones |
Wreaths, table decor, ornaments |
Bake low and brief to dry pests (if appropriate) or air-dry; brush debris |
2–7 days |
| Twigs (dry) |
Mini frames, mobiles, wall hangings |
Wipe, trim ends, air-dry fully before gluing |
1–7 days |
| Seed pods / acorns |
Ornaments, bowls, shadow boxes |
Air-dry; freeze 48 hours if worried about insects; seal later |
3–14 days |
| Grasses |
Bundles, weaving, small brooms |
Hang in small bunches upside down in a dry place |
5–14 days |
A Simple Starter Kit (Mostly Items Already at Home)
A beginner kit doesn’t need specialty tools. A small, consistent setup makes your results more repeatable.
Collecting and Storing Without Ruining Your Finds
Three Beginner Projects That Look Polished
1) Pressed Leaf Bookmark
2) Mini Twig Frame
Cut dry twigs to size and glue them onto a stiff cardboard base. Add a pressed leaf or tiny pressed flowers in two corners, then attach a small hanger loop. If you enjoy frame projects beyond twigs, Frame It Your Way – diy photo frame decorating ideas Guide is a helpful next step for styling and gift-ready finishing ideas.
3) Pinecone Tabletop Cluster
Finishing and Longevity: Keeping Nature Crafts Looking Good
A Practical Guide to Build Skills Faster
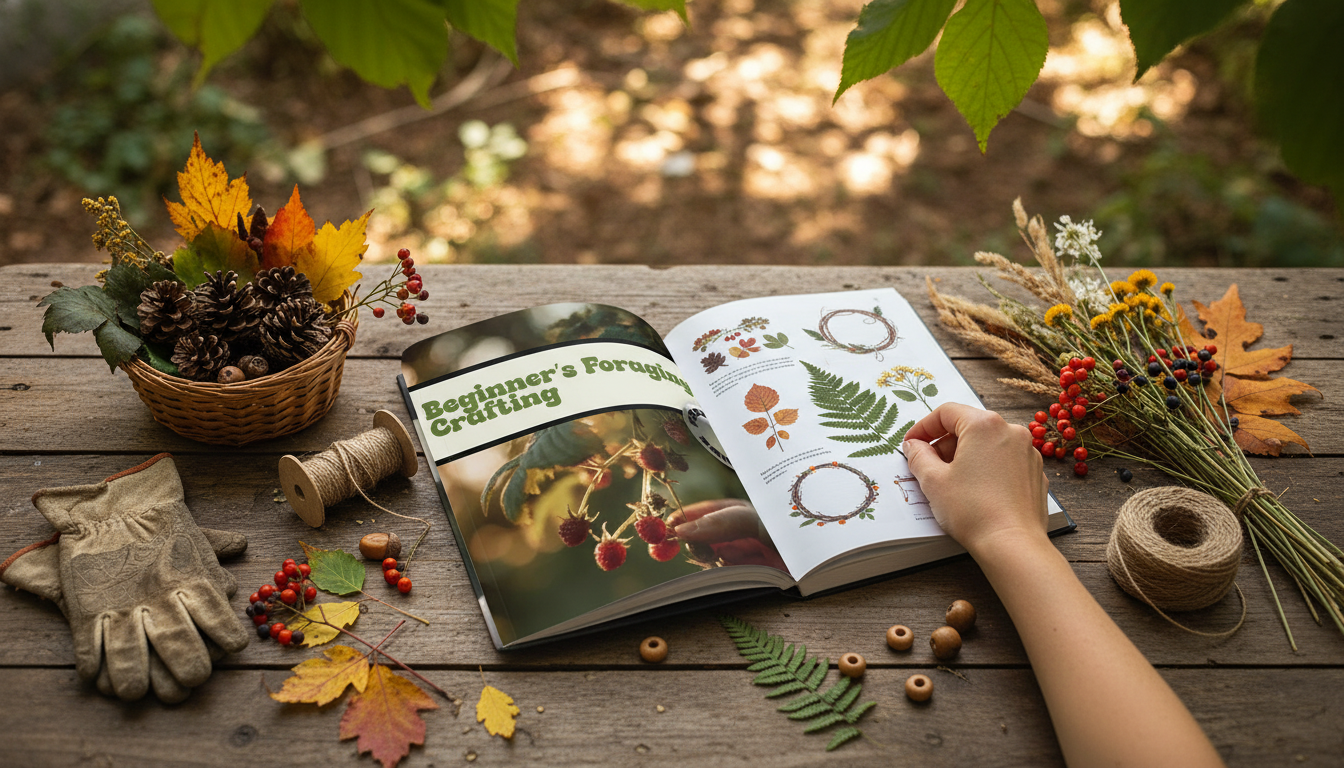
Projects also work best when they match local availability: cones and twigs for woodlands, grasses for meadows, driftwood where collection is allowed. For a focused, beginner-first approach, Beginner’s Foraging Crafting – A Practical Foraging Craft Beginners Guide for Nature-Inspired DIY Projects is designed to help you go from a small bag of finds to finished pieces with consistent results.
FAQ
Is it okay to take leaves, pinecones, and sticks from parks?
It depends on the location. Many parks and protected areas prohibit removing natural materials, even if they’re fallen, so check posted signs and local regulations. When in doubt, collect only on private property with permission or choose areas where gathering is explicitly allowed.
How do you keep pressed leaves and flowers from turning brown?
Press quickly with consistent pressure, and change the paper if it becomes damp. Start with dry, fresh-looking fallen pieces (not wet or already decaying), and seal only after everything is fully dry. Store finished pressed items away from heat and direct sun to reduce discoloration over time.
How can foraged craft materials be cleaned safely?
Use dry methods first: gently brush off debris and wipe sturdy items lightly, then let everything air-dry completely. Avoid soaking delicate botanicals, which can cause tearing and browning. If pests are a concern, isolate new finds for a few days or freeze hardy items briefly before storing.
Recommended for you












Leave a comment