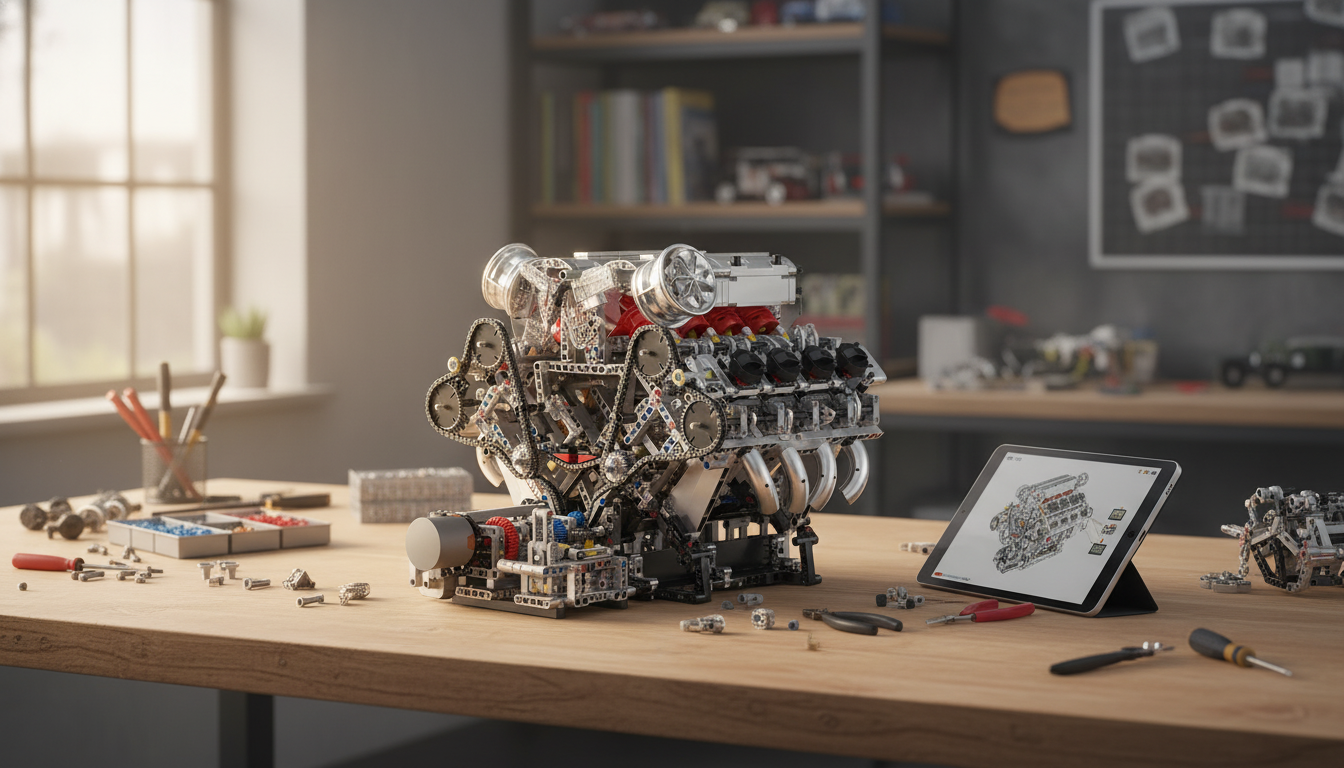
A working engine model brings pistons, crankshafts, timing, and power transfer into view—turning abstract mechanics into something hands-on. This supercar-style STEM building set adds a motorized drive so the finished build can animate the full cycle for display, learning, and repeatable demonstrations.
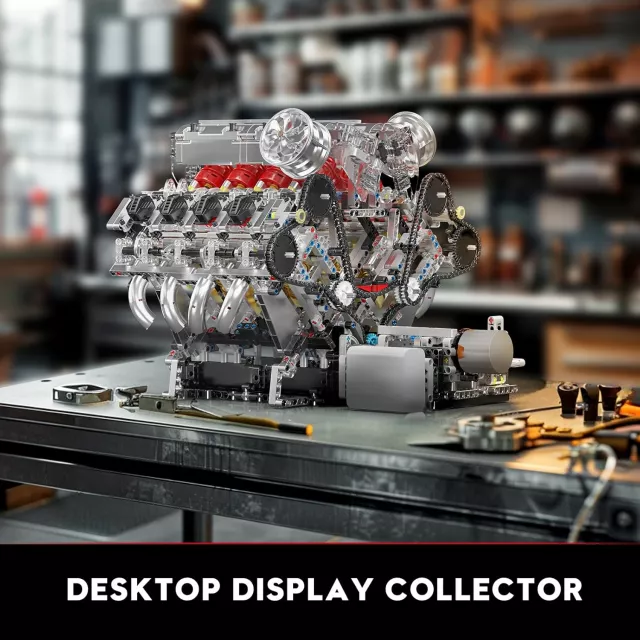
If you’re looking for a functional desktop showpiece that also teaches real mechanical relationships, the Build Your Own V8 Engine Model Kit – Supercar STEM Building Set with Motor is designed to make motion the main feature—not an afterthought.
What the set is designed to demonstrate
- Core V8 layout concepts: cylinder banks, crankshaft throws, and firing sequence as a system rather than isolated parts.
- Reciprocating-to-rotary conversion: how piston motion becomes rotation through connecting rods and a crankshaft.
- Basic valvetrain/timing ideas (where included): why timing alignment matters to smooth operation and repeatable cycles.
- Power path visualization: motor drive to rotating assembly, and how motion propagates through the model.
- Supercar presentation focus: a build meant to be displayed, not just assembled once and shelved.
For a quick refresher on how the full engine cycle is commonly explained in theory, the four-stroke overview from Khan Academy pairs especially well with a moving model you can watch from multiple angles.
What’s included and what to prepare before starting
- Motorized components and drivetrain pieces intended to keep the model running at a steady, observable speed.
- Engine block and rotating assembly parts (pistons, rods, crankshaft) that illustrate the full motion cycle.
- Body/supercar-themed elements that frame the engine as a centerpiece build.
- Instruction sequence that benefits from sorting parts by type before step 1.
- Suggested prep: a clear tray for small parts, a soft cloth for protecting finished surfaces, and fresh batteries (if required by the motor module).
Building goes smoother when everything is staged: place similar fasteners together, keep long axles separated from short ones, and leave a small “quarantine” area for pieces you’re not sure about until the next step confirms fitment.
Build experience: pacing, difficulty, and best practices
This is the kind of kit that rewards patience. The goal isn’t just “assembled”—it’s “assembled and spins freely,” which is what makes the motorized motion satisfying to watch.
- Build in sub-assemblies: complete one cylinder bank/section at a time before merging into the main block.
- Do a dry-fit check on moving parts before final fastening to prevent binding.
- Confirm alignment marks and rotational freedom at each milestone (crank turns freely, pistons travel smoothly).
- Install the motor later so the mechanism can be tested by hand first.
- If motion stutters after motorizing: re-check axle seating, gear mesh, and any friction points in the piston travel.
A practical checkpoint: once the crank and rods are in, rotate the crank slowly through multiple full turns by hand. You want consistent resistance—no “hard spots.” If you feel a snag, it’s usually a slightly mis-seated axle, a gear not fully meshed, or a joint tightened a bit too aggressively for a moving linkage.
For a clear, non-technical overview of how the major parts work together in an internal-combustion engine (as the real-world inspiration for these demonstrations), see Encyclopaedia Britannica’s internal-combustion engine reference.
Learning activities and display ideas (classroom, home, makerspace)
- Label-the-system challenge: identify and tag pistons, rods, crankshaft, and any timing components.
- Motion mapping: sketch one piston’s position over a full crank rotation to understand cycles.
- Cause-and-effect tests: change motor speed (if supported) and observe stability, vibration, and smoothness.
- Display idea: place the model on a shelf with a simple placard explaining the 4-stroke cycle and how the crank converts motion.
- Group build method: assign roles (parts sorting, sub-assembly, quality checks) to reduce errors and speed up progress.
For a clean “museum-style” look, a simple framed card beside the model can make it feel like a curated exhibit. If you want a guided creative approach for making a polished label or mini display sign, Frame It Your Way – DIY Photo Frame Decorating Ideas Guide can help with layout and presentation ideas that fit a desk, shelf, or classroom table.
Quick comparison: model engine kit vs. static display model vs. textbook diagrams
Ways to learn engine fundamentals
| Option |
Best for |
Trade-offs |
| Motorized V8 engine model kit |
Seeing moving parts and relationships in real time |
Requires assembly time and careful alignment |
| Static engine display model |
Showpiece aesthetics and basic part identification |
Limited understanding of motion and timing |
| Textbook/diagram resources |
Clear definitions, cycles, and theory |
Harder to visualize 3D movement and interactions |
A hybrid method works well: use the motorized model to see “what moves when,” then use a diagram to name each phase and confirm sequence. For an approachable, step-by-step explanation of engine basics with everyday language, HowStuffWorks’ guide to how car engines work is a helpful companion reference.
Buying notes: fit, gifting, and long-term use
FAQ
Does the motor make the engine parts move like a real V8?
Yes—the motor drives the crank/gear train so the pistons reciprocate and the rotating assembly turns in a realistic sequence. It’s a functional demonstration model for motion and timing, not a combustion engine that produces power from fuel.
How long does assembly usually take?
Most builders should expect anywhere from a few hours to a full weekend, depending on experience and how carefully each sub-assembly is tested. Taking time to verify smooth rotation at each milestone usually saves time later.
What should be checked if the motion binds or stalls?
Start by confirming axles are fully seated, gears mesh cleanly, and no parts are overtightened where they need to pivot. Then re-check rotating assembly alignment and look for friction points along piston travel that may need slight repositioning.
Recommended for you












Leave a comment