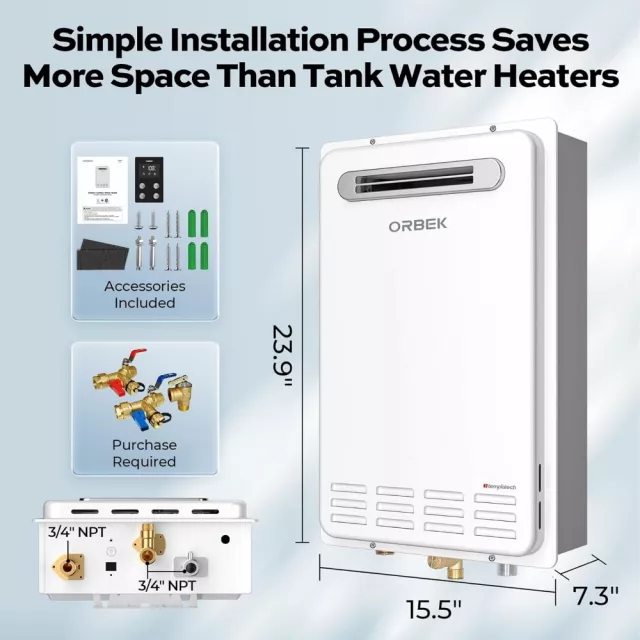
A 120,000 BTU propane tankless unit built for outdoor mounting can deliver steady hot water without a storage tank, while saving indoor space and simplifying venting. This guide breaks down what 5.1 GPM looks like during real household use, what to confirm before mounting a heater outdoors, and the practical installation details that help performance stay consistent across seasons.
The BTU rating tells you how much heat the burner can add to the water. Higher BTU capacity generally helps a tankless heater keep outlet temperatures steadier when incoming water is colder (common in winter or in colder regions).
The 5.1 GPM figure is a maximum flow rating measured under specific conditions. In everyday use, actual flow depends heavily on temperature rise—how far the unit must raise the incoming cold-water temperature to reach your setpoint. When the incoming water is colder, the heater often reduces flow (or you perceive cooler water) to maintain the target temperature.
For many homes, a 120,000 BTU tankless propane heater is a practical “sweet spot” for one major draw plus a small second draw (like a sink), or two low-flow fixtures when the temperature rise isn’t extreme. If multiple high-demand fixtures run at the same time, the system may prioritize temperature and throttle flow.
| Scenario | Approx. combined flow | What to watch | Practical expectation |
|---|---|---|---|
| Single shower | 1.8–2.5 GPM | Incoming water temperature in winter | Typically stable hot water with room to spare |
| Shower + bathroom sink | 2.2–3.2 GPM | Pressure drop through fixtures | Usually comfortable if temperature rise is moderate |
| Two low-flow showers | 3.6–5.0 GPM | Temperature rise and propane supply | May be workable in warmer months; can strain in colder inlet temps |
| Shower + laundry (warm fill) | 3.0–4.5 GPM | Short cycling if demand fluctuates | Better results with steady draw and correct gas line sizing |
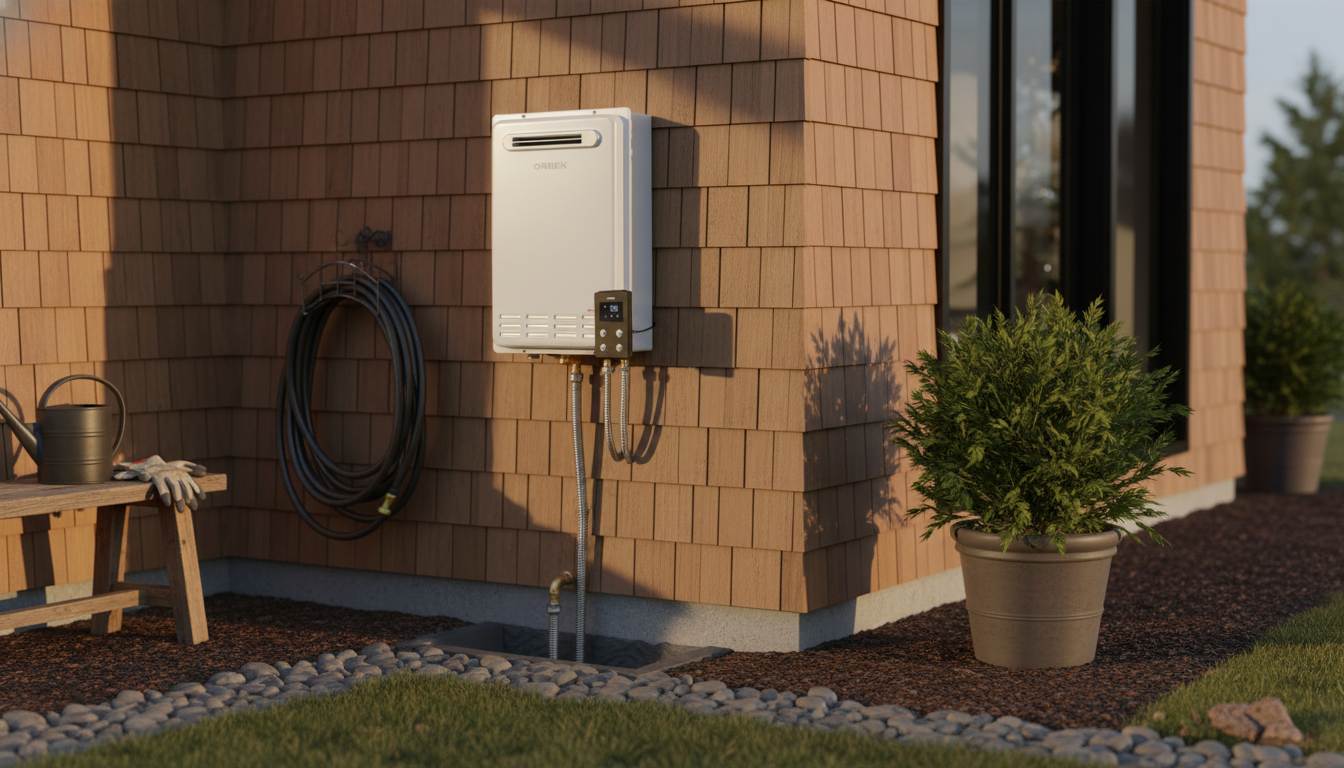
Outdoor tankless installation can be a smart match for homes where interior wall space is limited or where routing a vent through the roof or sidewall is complicated. Because combustion happens outside, indoor air-quality concerns are reduced (installation still must follow the manufacturer’s instructions and local code).
Another advantage is location flexibility: mounting closer to primary bathrooms or laundry areas can shorten hot-water line runs, which may cut the wait time at the tap. Outdoor placement can also keep operational noise outside—helpful when bedrooms or living spaces are near the mechanical room.
Even outdoors, service access matters. Plan enough working room to remove the cover, connect a flush pump, and inspect connections without having to unmount the unit.
Outdoor mounting is not “set it anywhere outside.” Clearances are critical for safety and proper operation. Choose a location that meets required spacing from doors, windows, soffit vents, and any air intake/exhaust pathways as specified by the heater manufacturer and local code requirements. For fuel-gas guidance that many jurisdictions reference, see NFPA 54: National Fuel Gas Code.
Next, think about water management. Condensate, relief-valve discharge routing (if applicable), and general dripping should be directed so it doesn’t stain siding, erode soil, or create icy patches on walkways.
Freeze protection is the big outdoor question. Many outdoor-rated units include built-in freeze protection, but it typically depends on electrical power and has limits. In mild climates, that may be sufficient; in colder climates, additional measures may be needed (approved insulation practices, placement out of prevailing wind, and draining the unit for extended outages or deep-freeze events). Confirm what your specific model requires and what conditions it can handle.
Finally, ensure the mounting surface is stable and use corrosion-resistant fasteners suitable for exterior exposure. A solid mount helps prevent vibration, keeps piping stress low, and supports long-term reliability.
A tankless heater can only perform as well as its fuel supply. Start at the tank: confirm the propane regulator capacity and delivery pressure match the heater’s specifications. If supply pressure is weak—especially during high demand—the unit can throw ignition errors, shut down, or swing in temperature.
Gas line sizing is a common real-world bottleneck. Long runs, too many elbows, and undersized pipe can starve the burner when it ramps up. The result is often reduced hot-water output right when you need it most (multiple fixtures, cold incoming water, or higher setpoint temperatures).
Use approved outdoor-rated shutoff valves, and install a sediment trap/drip leg where required by code and manufacturer guidance. Because propane connections must be leak-tested and properly commissioned, coordinate with a qualified installer who can verify pressure under load, not just static pressure.
For a deeper overview of tankless operation and efficiency basics, the U.S. Department of Energy tankless water heater guide is a helpful reference. You can also compare efficiency programs and labels via ENERGY STAR water heater resources.
Recovery time depends on the starting water temperature, the thermostat setpoint, and the heater’s efficiency, but a typical range is roughly 45–90 minutes for a substantial reheat. A tankless unit works differently by heating on demand, so you’re not waiting for a full tank to recover—your limit is the heater’s flow at the required temperature rise.
If you have any questions, here are some useful links:


Leave a comment