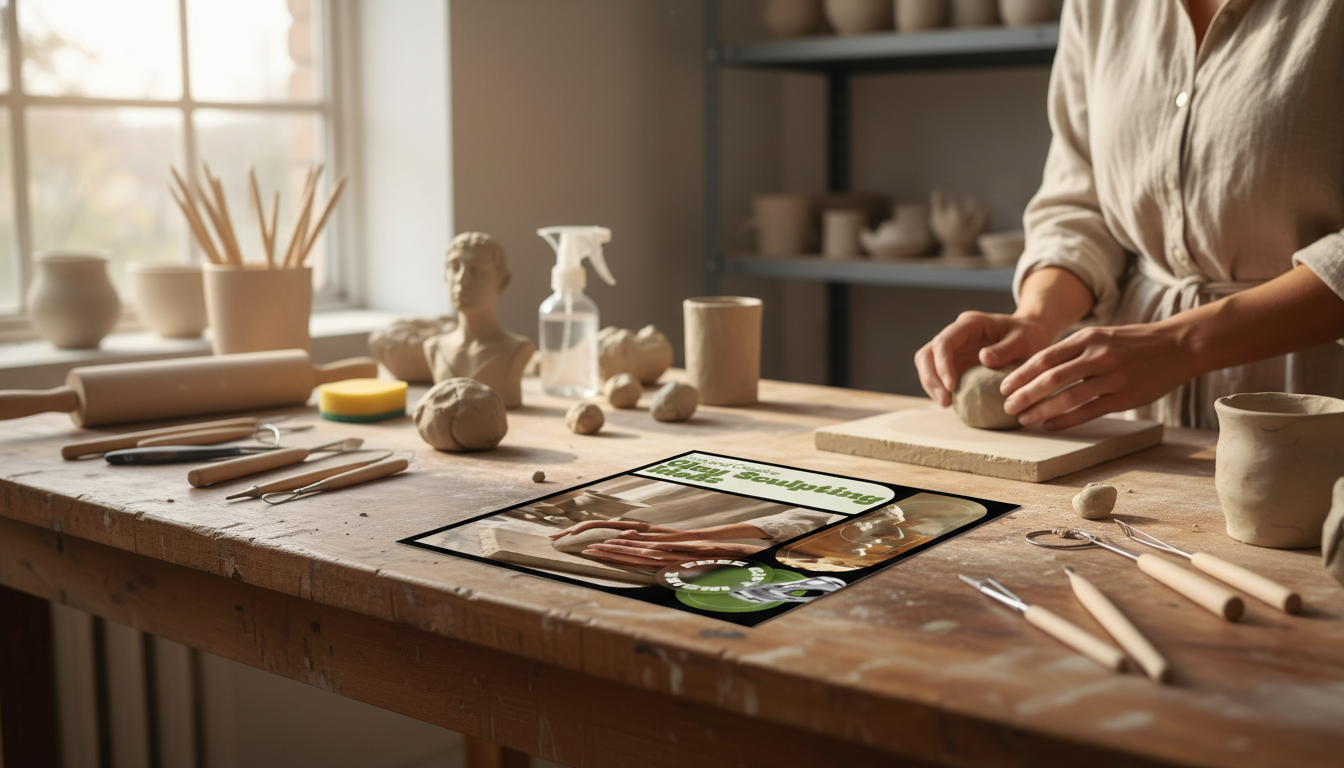
Clay sculpting is one of the quickest ways to turn an idea into something you can hold, gift, or display—without needing a studio. With a few basic tools and beginner-friendly techniques, small projects like charms, mini planters, and simple figurines become approachable and relaxing. This guide focuses on easy wins: choosing the right clay, learning core shaping methods, following short step-by-step projects, and finishing pieces so they look polished.
The “best” clay depends on how you’ll cure it and what you want the final object to do (decorate, hold weight, survive being carried around, etc.). For baking specifics, follow brand directions—Sculpey’s guidance is a helpful reference point for polymer clay temperature basics and best practices: https://www.sculpey.com/.
| Clay type | Best for | Curing method | Strength after cure | Beginner notes |
|---|---|---|---|---|
| Air-dry | Ornaments, small dishes, simple figures | Dries in air (hours–days) | Medium (can be brittle) | Dry slowly under plastic; sand and seal after fully dry |
| Polymer | Charms, miniatures, jewelry, detailed pieces | Bake in oven (per brand) | High | Condition well; avoid scorching; supports fine textures |
| Epoxy | Durable parts, sculpted accents, repairs | Chemical cure (minutes–hours) | Very high | Work in small batches; keep tools slightly wet to reduce sticking |
| Non-drying modeling | Practice forms and maquettes | Does not cure | Low (stays soft) | Perfect for learning shapes; not a final product |
If handbuilding fundamentals are your favorite part, Ceramic Arts Network has broader technique overviews that translate well to small-scale projects: https://ceramicartsnetwork.org/.
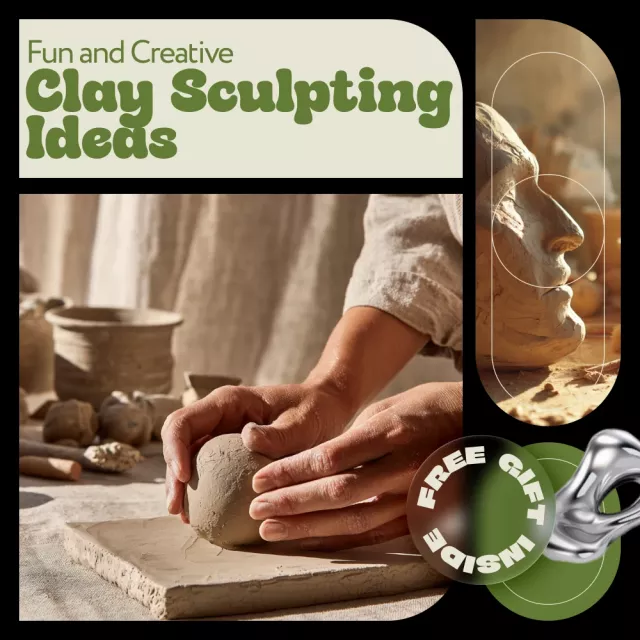
Having prompts ready makes it easier to sit down and actually make something—especially when you only have a short window to craft. The Fun and Creative Clay Sculpting Ideas digital download is built around quick projects, step checkpoints, and technique reminders you can reuse.
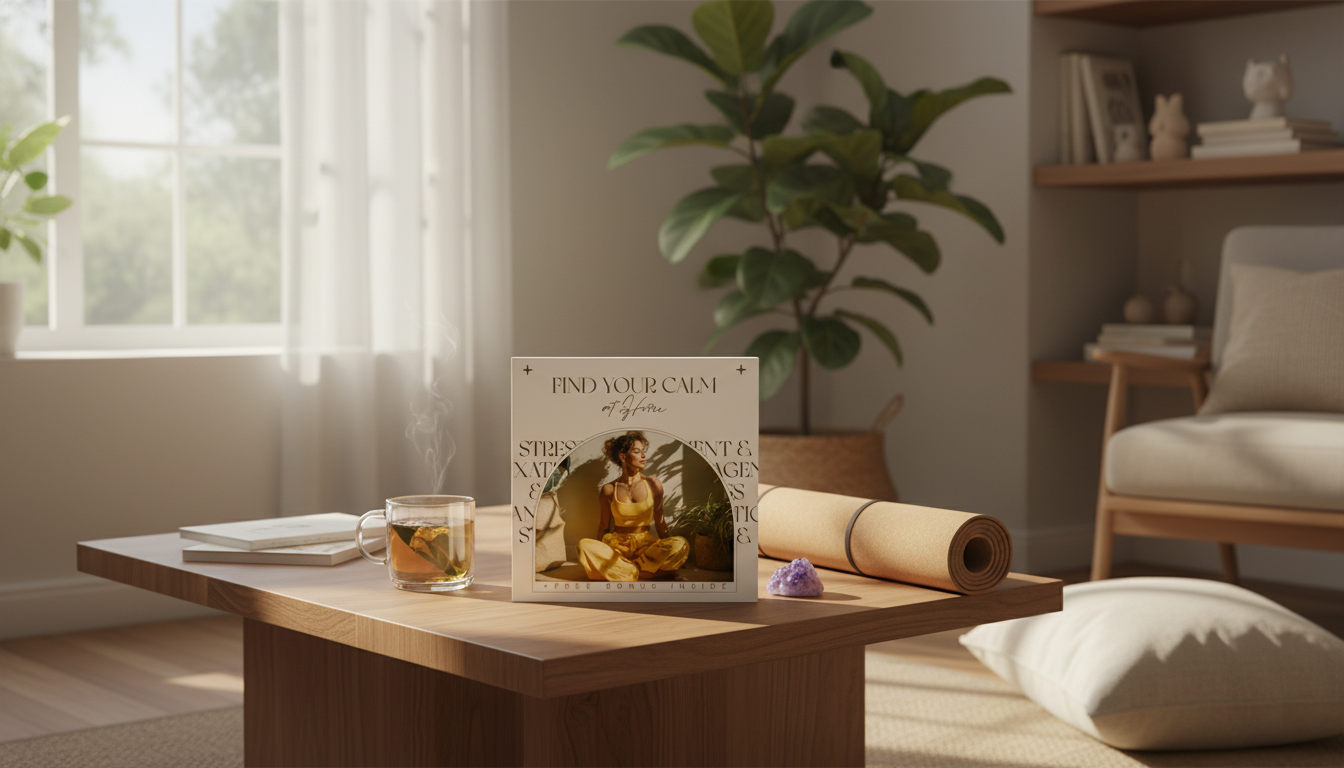
Try a repeatable routine: 10 minutes conditioning, 20 minutes sculpting, 10 minutes refining textures, then cure/dry and finish later. For gifting and display, pairing finished clay pieces with simple presentation touches (like framed mini art or a styled gift set) can make them feel more “complete”—the Frame It Your Way – diy photo frame decorating ideas Guide is a helpful companion for creative packaging and display planning.
Air-dry clay is the easiest to start with because it needs minimal tools and no oven, but polymer clay is often easier to get clean, durable results for small items like charms. Choose based on whether you can bake and whether the finished piece needs strength.
Keep thickness even, dry slowly under plastic, and flip pieces as they firm up so moisture leaves more evenly. Small cracks can be repaired with slip (air-dry clay mixed with water) and gentle smoothing.
Yes—acrylic paint works well after the piece is baked and fully cooled, especially in thin coats. Many sealers also work, but it’s smart to test first because some finishes can stay tacky on polymer clay.
If you have any questions, here are some useful links:








Leave a comment