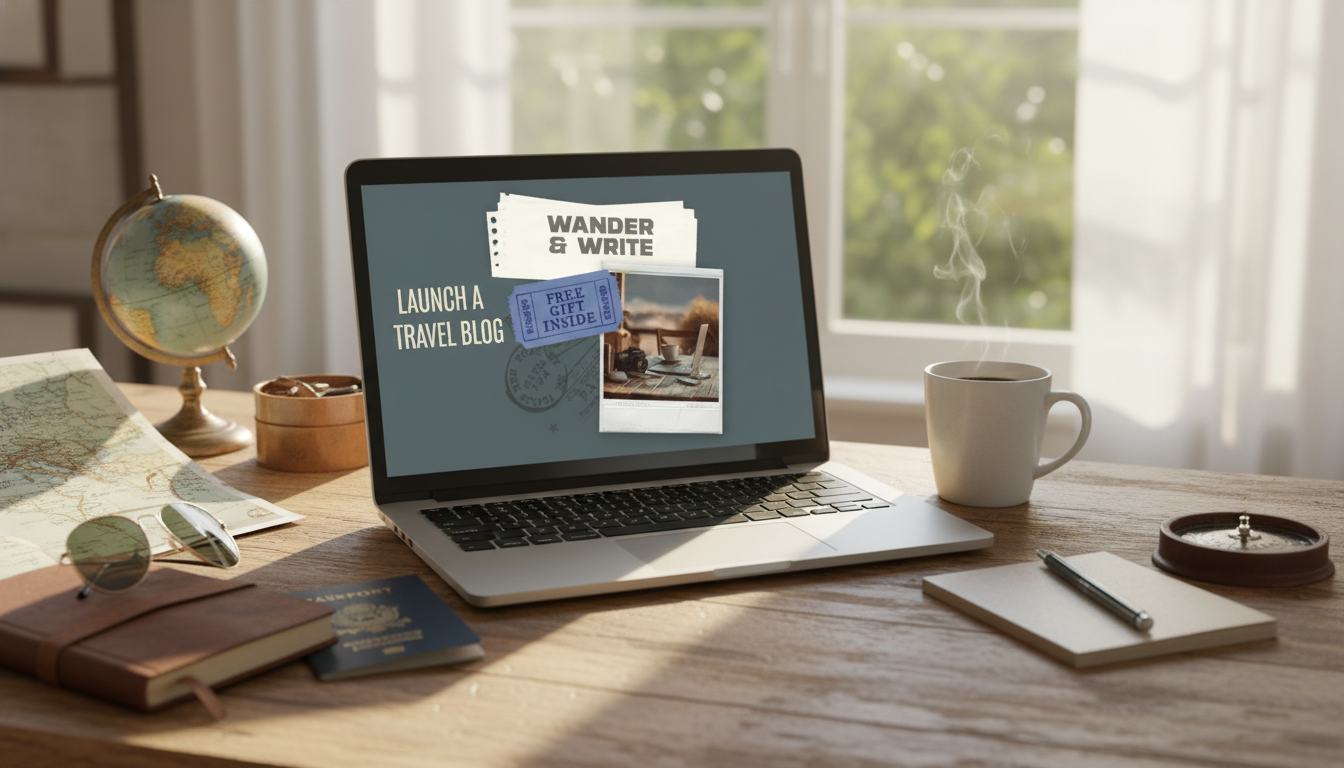
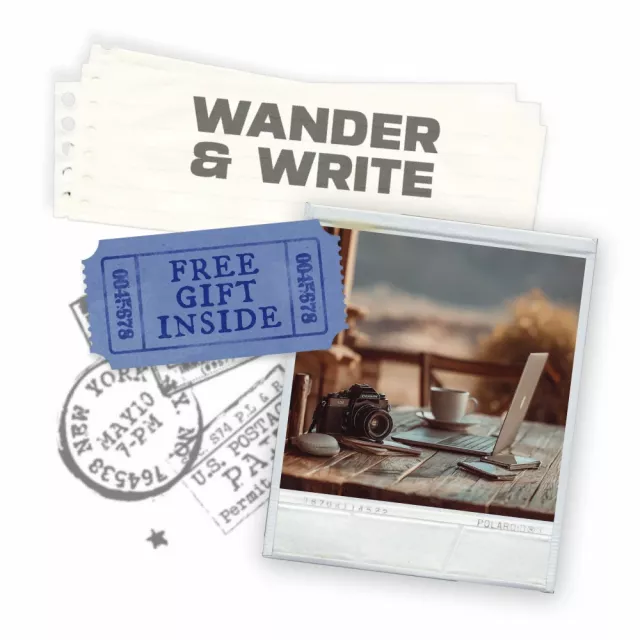
Starting a travel blog gets easier when the early decisions are simple: choose a direction, set up the basics correctly, and publish with a repeatable process. The goal isn’t to build a “perfect” site on day one—it’s to get live with a structure that can grow. Below is a clear, start-to-launch path that covers planning, setup, content, visuals, and reader-first growth so your blog can go live with confidence and keep momentum after day one.
A travel blog lasts when it naturally generates recurring stories. Pick an angle you can write about repeatedly without forcing it—city breaks, budget routes, food trails, solo travel, family travel, road trips, or national parks are all strong because each trip creates a new chapter.
Next, define your reader promise in one sentence. Keep it specific: who it helps, where, and what outcome they get. Example: “Weekend-friendly itineraries for first-time visitors who want doable plans, not overwhelm.”
Before buying anything, list 20 post ideas. If that feels difficult, the niche is usually too broad (“travel”) or too vague (“my adventures”). Finally, decide what “success” means in the first 30 days: a realistic publishing cadence, a small email list goal, your first affiliate application, or a starter portfolio of practical guides.
Choose a blog name that’s easy to say, spell, and remember. Short beats clever when someone hears it once and tries to find it later. Avoid punctuation and long, hard-to-type words.
Secure a domain and hosting (or a managed platform) that can scale. Enable SSL and automated backups immediately—those two items save stress later. Keep design minimal in the beginning: speed, readability, and clean navigation matter more than fancy animations.
Create essential pages early: About, Contact, Privacy Policy, and a simple Start Here page to guide first-time readers. For foundational site guidance on making your content accessible to search engines, reference Google’s documentation here: Google Search Central — SEO Starter Guide.
| Area | Must-have | Nice-to-have |
|---|---|---|
| Domain & hosting | SSL enabled, backups, reliable support | Staging site, email inbox on domain |
| Site structure | Categories for main topics, simple menu | Start Here hub page, resource library |
| Legal pages | Privacy Policy, Contact | Affiliate disclosure, cookie banner (where applicable) |
| Performance | Image compression, caching (if supported) | CDN, advanced speed testing |
Start with 6–10 foundational posts aligned to your direction. These are the pages readers will return to again and again: destination guides, itineraries, packing lists, transport tips, budgeting, and safety basics.
Publishing gets easier when each post type has a template. For example, a repeatable itinerary structure might include: quick overview, map, day-by-day plan, estimated costs, transport, where to stay, what to pack, and common mistakes. Templates also reduce “blank page” fatigue—especially when you’re writing after work or between trips.
Build internal pathways as you go. Every new post should link to 2–4 related posts so a reader can keep planning without bouncing away. Draft a lightweight 2–4 week editorial calendar so you’re not re-deciding your next topic every time you sit down to write.
Travel readers skim first and commit second. Prioritize clarity: strong headlines, short paragraphs, and scannable sections (like quick lists and mini FAQs within a guide) help people find answers fast.
Use original photos when possible. If you use third-party images, confirm licensing and attribution requirements and never assume images “found on Google” are free to use. For a straightforward overview of rights and ownership, review: U.S. Copyright Office — Copyright Basics.
Use clear disclosures for affiliate links and sponsored content. The FTC has a practical overview of disclosure expectations here: FTC — Disclosures 101 for Social Media Influencers.
| Day | Focus | Output |
|---|---|---|
| 1 | Setup essentials | Theme, menu, About/Contact/Privacy |
| 2 | Cornerstone content | Post #1–#2 published |
| 3 | Supporting content | Post #3 published + internal links |
| 4 | Supporting content | Post #4 published + image optimization |
| 5 | Reader pathway | Start Here page + email sign-up |
| 6 | Distribution | Share + repurpose into short snippets |
| 7 | Next steps | Draft next 2 posts + update plan |
A solid starting point is 4–8 quality posts, including 1–2 cornerstone guides, plus your essential pages (About, Contact, Privacy, Start Here). Consistent publishing after launch matters more than building a huge backlog.
Usually, yes—most images online are copyrighted. Use your own photos or properly licensed stock/Creative Commons images and follow any required attribution rules; avoid copying images straight from search results.
Begin with affiliate links that match the page topic (booking tools, gear you truly recommend), plus a simple email freebie and a small resource page. Use clear disclosures and prioritize trust so monetization doesn’t undermine your credibility.
If you have any questions, here are some useful links:


Leave a comment